Meal prepping only pays off if you actually do it every week, and that’s where most people get stuck. You cook big one Sunday, feel amazing, then skip the next three weeks because life got busy and the habit never had a chance to form.
Table of Contents
A meal prep habit tracker fixes that by turning “I should meal prep” into a visible, repeatable routine. This guide walks through exactly how to set one up, what to track, and how to use it so prepping becomes something you do on autopilot instead of something you have to remember to do.
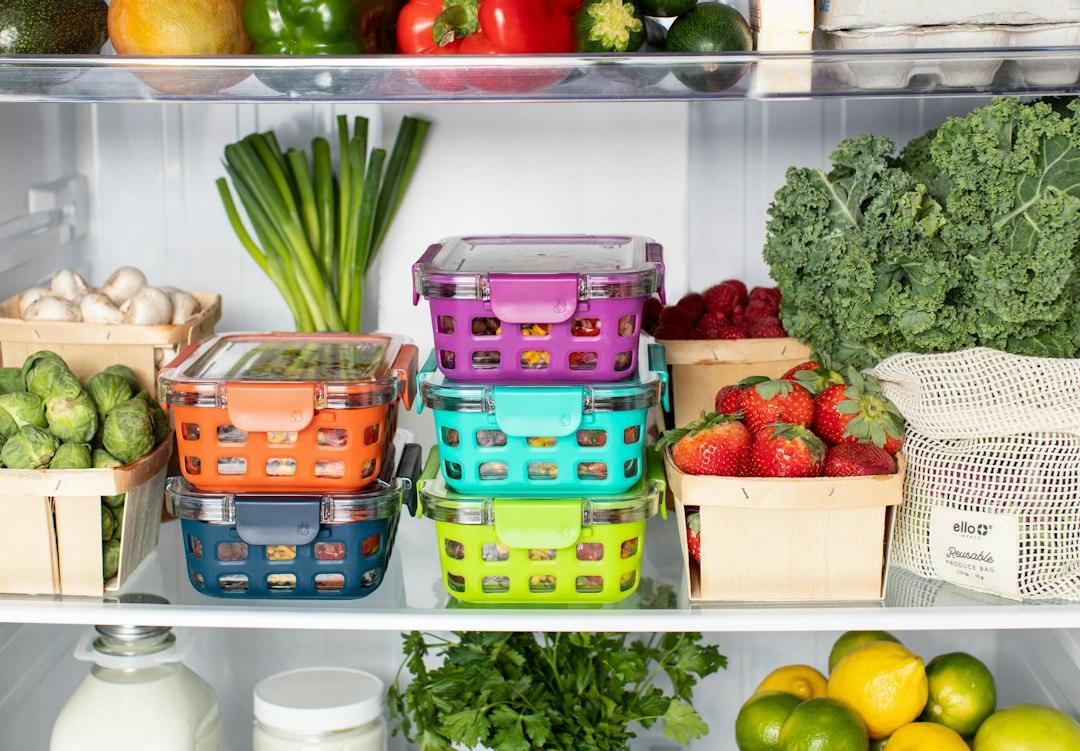
Quick Answer
Build a meal prep habit tracker as a simple weekly grid: one row per day, columns for what you prepped, how many containers you filled, and a checkbox confirming it’s done. Pair it with a fixed prep day and time, and track streaks so you can see your consistency build week over week.
Step-by-Step: Setting Up Your Tracker
Start by picking one fixed prep day and a specific time block, such as Sunday from 2 to 4 pm. Habits form faster when they’re anchored to a consistent slot rather than “whenever I get to it.” Write that day and time at the top of your tracker so it’s the first thing you see.
Next, decide what you’re actually prepping each week: full meals, individual components (proteins, grains, veggies cut and stored separately), or a mix of both. List these as columns so you can check off each piece instead of treating prep as one giant task.
Then set a realistic container or meal count for the week, like 5 lunches and 5 dinners, and track how many you actually completed versus your target. Seeing 4 out of 5 is far less discouraging than an all-or-nothing “did I meal prep or not” mindset, and it keeps you prepping even on weeks that don’t go perfectly.
Finally, add a streak counter, a simple row of boxes you check each week you hit your prep session. Streaks are one of the most reliable ways to keep a new habit going because the visual chain itself becomes motivating.
What to Put on the Printable Tracker
A tracker you’ll actually use should fit on a single page and take under a minute to fill in. The layout below works well printed on standard letter-size paper or filled in digitally:
Header section: the week’s date range, your fixed prep day/time, and your weekly meal target (e.g., “10 meals: 5 lunch + 5 dinner”).
Main grid: one row per prepped item (protein, carb, vegetable, sauce, snack, etc.), with columns for item name, quantity made, storage method (fridge or freezer), and a checkbox for “prepped.”
Daily eat-down row: seven small boxes, Monday through Sunday, to check off each day you actually ate from your prepped stock instead of ordering out or skipping, so you can see where the habit breaks down during the week.
Weekly streak tracker: a row of boxes across the bottom, one per week, to mark consecutive weeks you completed a prep session, plus a small notes line for what worked or what to change next time.
This layout is what the free tracker attached to this post uses, so you can print it out or fill it in digitally without having to design your own from scratch.
Tips / Common Mistakes
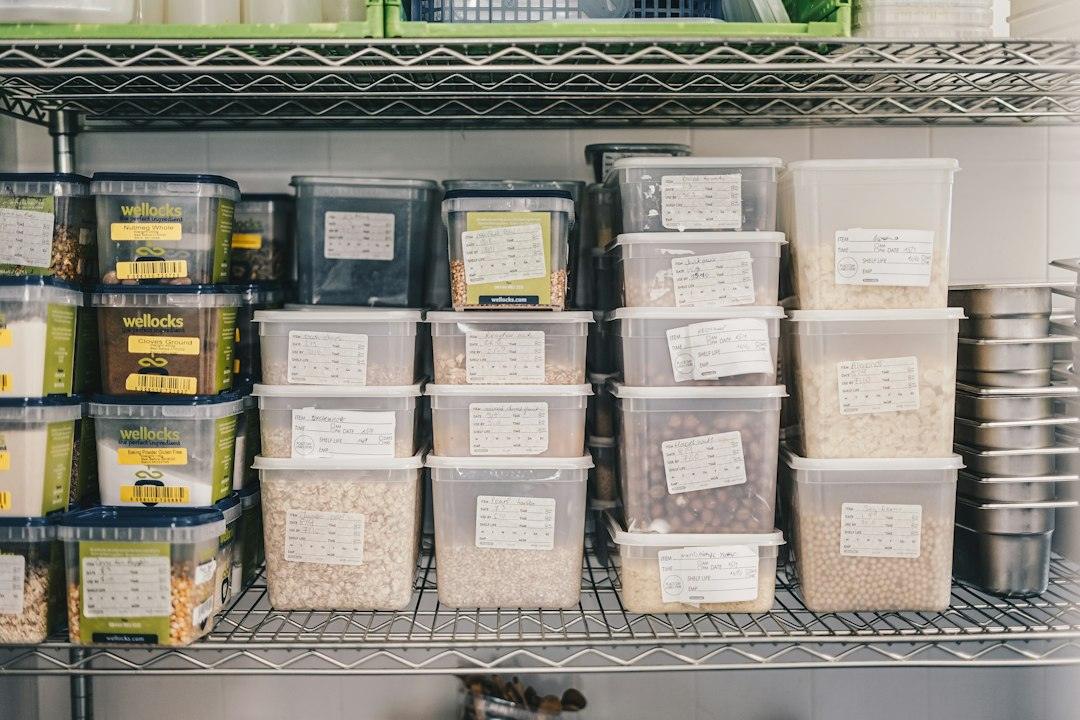
Know the real difference between fridge and freezer limits. Cooked meals generally keep safely in the fridge for about 3 to 4 days when stored at 40°F (4°C) or below, per USDA and CDC guidance. In the freezer, properly stored food stays safe to eat indefinitely from a food-safety standpoint, since freezing stops bacterial growth; the common 3-to-4-month window you’ll see on labels is a quality recommendation (texture, flavor, freezer burn), not a safety cutoff. If your week runs longer than your fridge window, move the extra portions to the freezer rather than letting them sit.
Avoid making your tracker too detailed. Tracking calories, macros, and ten other data points on top of the habit itself is a common reason people quit after two weeks. Keep the tracker focused on whether you prepped and whether you ate from it, not a full nutrition log.
Prep in shallow containers and cool food quickly before sealing it. Deep containers of hot food trap heat and take longer to cool, which increases the risk of bacterial growth before the fridge brings the temperature down.
Build in a backup plan for busy weeks. Instead of skipping entirely when you’re short on time, note a “minimum viable prep” on your tracker, like washing and chopping vegetables or cooking just a protein, so the streak doesn’t break completely.
Review your tracker at the end of each week for a minute. Notice which prepped items actually got eaten and which went to waste, then adjust next week’s plan instead of repeating the same mismatch.
Explore more: more habit-building guides.
Meal Prep Habit Tracker FAQs
How often should I update my meal prep habit tracker?
Fill it in right after your prep session (what and how much you made) and then once a day as you eat from it, so it takes seconds rather than becoming its own chore.
What if I miss a week on my tracker?
Mark it honestly and move on. A broken streak isn’t a reason to quit, it’s data. Look at why that week failed and adjust your prep day, portion size, or backup plan accordingly.
How long does meal-prepped food actually stay safe to eat?
In the fridge, cooked meals are safe for about 3 to 4 days at 40°F (4°C) or below, per USDA and CDC guidance. In the freezer, food stays safe indefinitely as long as it’s kept frozen; the 3-to-4-month figure often cited is about best quality and taste, not a safety deadline.
Should I track full meals or individual ingredients?
Either works, but tracking components (a protein, a grain, a vegetable) rather than finished meals gives you more flexibility to mix and match through the week, which tends to reduce food boredom and waste.
Skip the Spreadsheet — Track It in ZenDuel
Habit streaks, mood tracking, and accountability duels in one free app — no template maintenance required. Get ZenDuel.
Want a calmer inbox? Subscribe to the free newsletter.
Photo by Ello on Unsplash.