If you love the look of a bullet journal but don’t want to hand-draw a grid every time you start a new habit tracker, a printable dot-grid insert solves the problem in seconds. You get the flexible, freeform feel of dot paper — which lets you build boxes, bars, or custom trackers however you like — without picking up a ruler.
Table of Contents
This guide walks through how to use a dot-grid habit tracker, what layout works best for most habits, and how to adapt the free printable below (available as a PDF) to fit your own notebook, whether that’s a standard bullet journal, a planner insert, or a loose page on your desk.
Download the Free Dot-Grid Habit Tracker
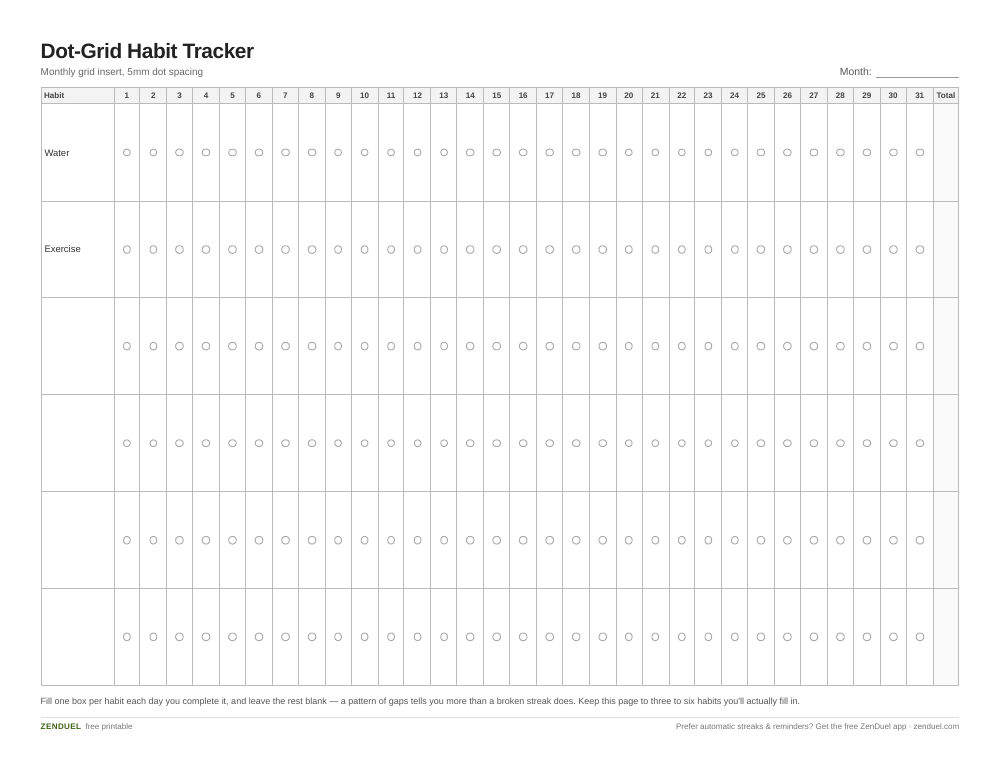
Our own printable — free, no sign-up, no email required. A 31-day monthly grid with six habit rows, a dot-fill column for each day, and a total column per habit. US Letter (prints fine on A4).
Quick Answer
Grab the free dot-grid habit tracker PDF above, print it on standard letter or A4 paper, and use the dots as light guides to draw a monthly grid: habits listed down the left side, days of the month across the top, and a box or dot at each intersection you fill in when you complete that habit.
Why Dot Grid Works Better Than Lines or Blank Paper
Dot grid paper gives you just enough structure to keep columns straight and boxes evenly sized, without the heavy ruled lines that make a page feel locked into one layout. That’s exactly why dot grid became the standard for bullet journaling in the first place — the small dots (most printed dot-grid notebooks and inserts use a 5mm spacing) are barely visible once you’ve drawn over them in ink, but they make it easy to freehand straight rows and consistent box sizes for a habit grid.
A blank page makes it hard to keep 30 daily columns even. A heavily lined page forces you into someone else’s layout. Dot grid splits the difference: you decide how wide each habit row is and how many days you’re tracking, and the dots just keep your hand honest.
How to Lay Out Your Habit Tracker on the Printable
The printable is built on a 5mm dot grid, which is the same spacing used in most commercial bullet journal notebooks, so anything you draw will match the scale you’re used to if you’re copying the tracker into a journal by hand later.
Start with a header row: write the month at the top, then count across the dots to create one column per day (for a 31-day month, that’s 31 evenly spaced columns, which fits comfortably using the dot grid as a guide — group the dots in sets of 5 to make counting faster).
Down the left margin, list your habits — one row per habit. Keep this list short. Three to six habits tracked consistently beats fifteen habits tracked for a week and then abandoned.
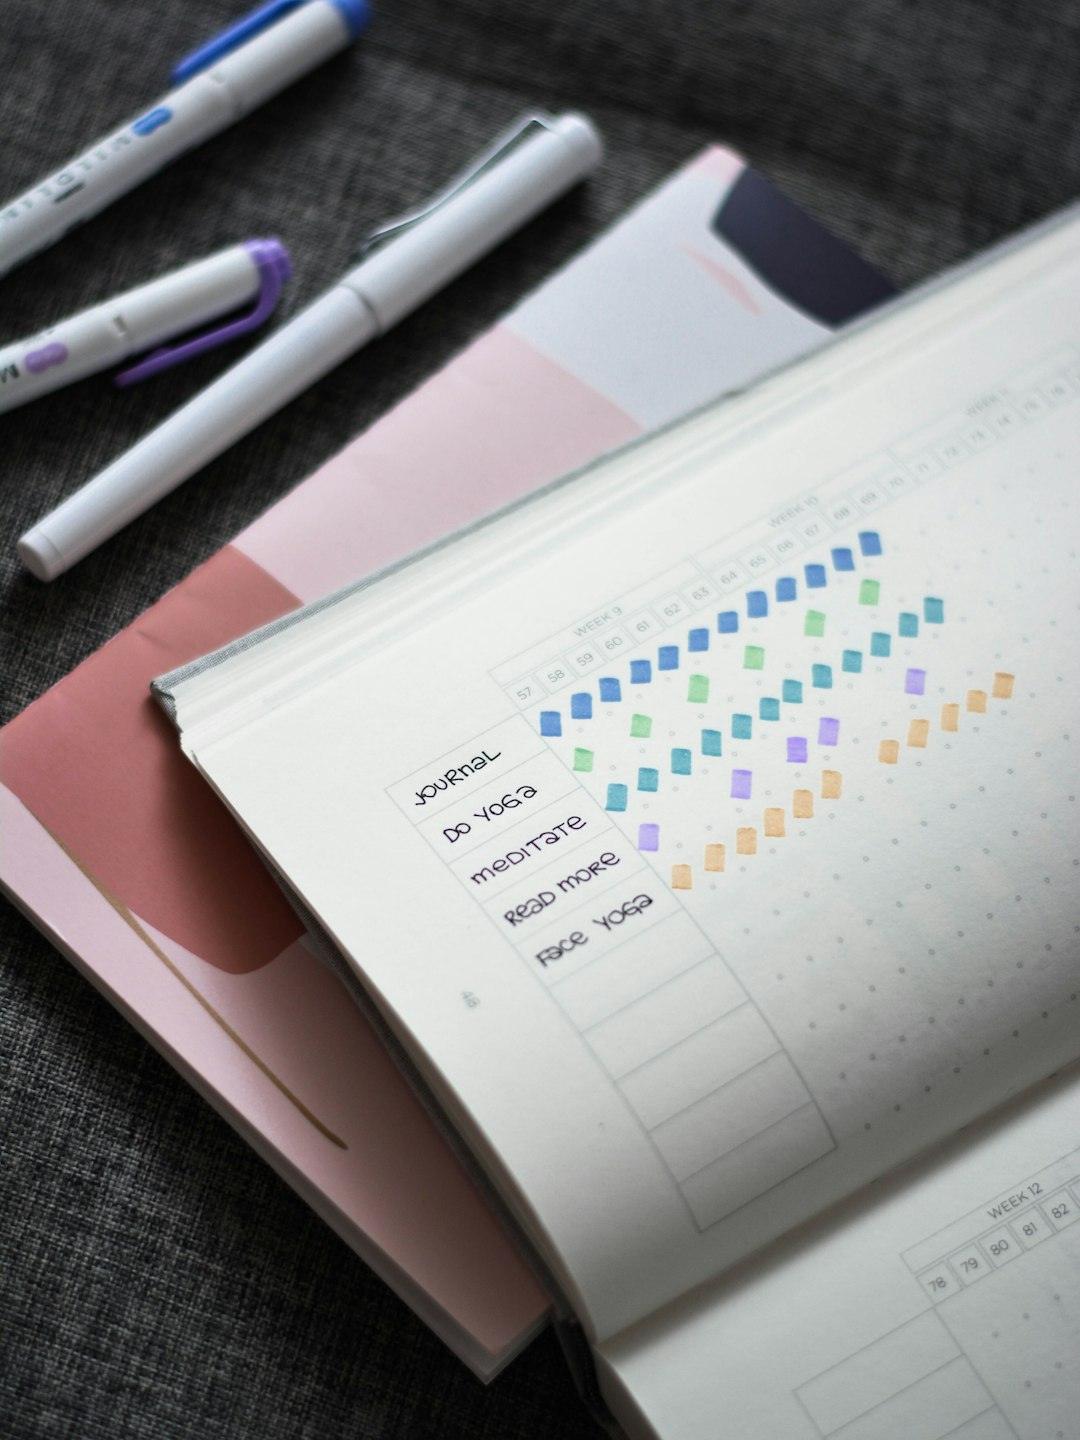
At each intersection of a habit row and a day column, draw a small box or just use the dot itself as the fill point. Fill it in (a checkmark, an X, or a colored dot) on days you complete that habit. Leave it blank on days you don’t — the gaps are useful information too, since a visual pattern of misses will show you which habit is struggling before a missed week turns into a missed month.
At the bottom or in a side column, leave room for a simple monthly total per habit, so you can see at a glance which habits you kept up and which ones need a different approach next month.
Tips / Common Mistakes
Track fewer habits than you think you need. A tracker with two or three habits you actually fill in every day is more useful than one with ten habits that gets abandoned by the second week.
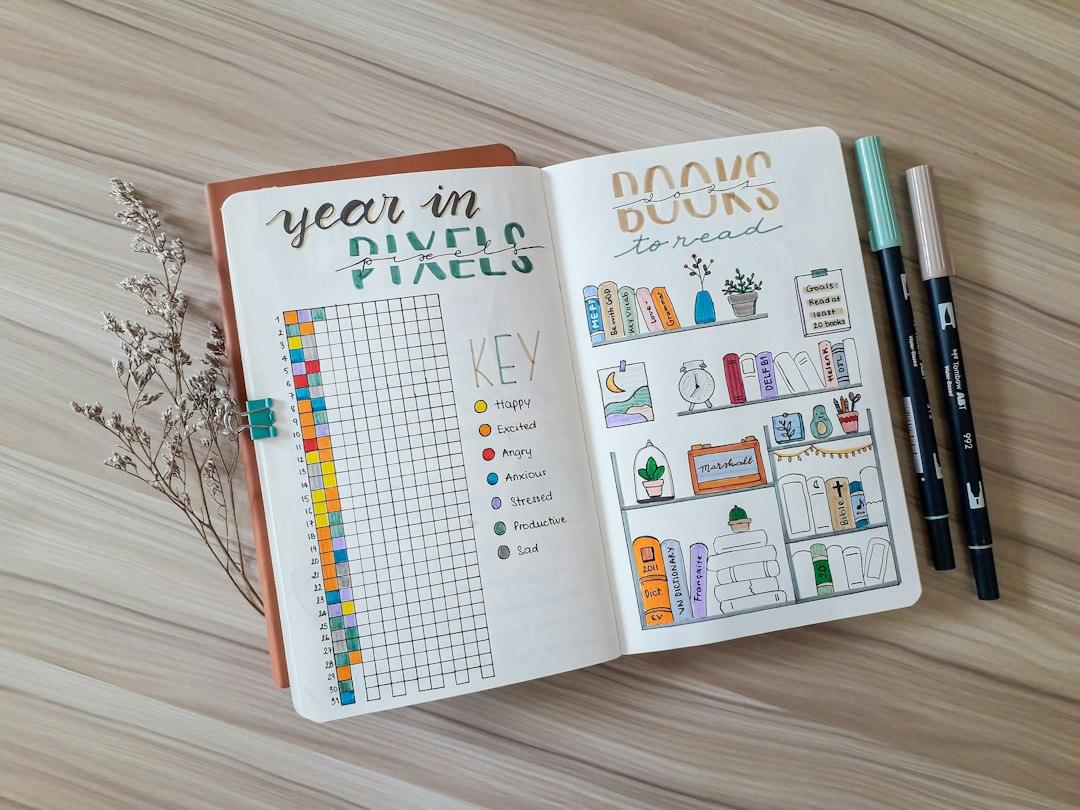
Pick a fill-in method you’ll actually stick to — a single dot or checkmark takes two seconds; elaborate color-coding or symbols for different ‘levels’ of completion often becomes the reason people stop updating the tracker.
Put the tracker somewhere you’ll see it daily, not buried in a notebook you only open on Sundays. Many people pair it with a daily log on the facing page so filling in the tracker becomes part of an existing routine.
Don’t restart a fresh grid after one missed day. The point of a monthly grid is to show patterns over weeks, not to stay perfect — a few blank boxes don’t ruin the tracker’s usefulness.
If you’re tracking a habit with more than a simple yes/no (like glasses of water or minutes of exercise), consider using the dot grid to build a small bar or number grid instead of a checkbox grid — the dots make it just as easy to keep numeric columns aligned.
Explore more: more free habit-tracking printables and guides.
Dot-Grid Habit Tracker FAQs
What size dot grid is best for a habit tracker?
5mm spacing is the standard used in most dot-grid notebooks and planners, and it’s what the free printable above uses — it’s fine enough to keep a full month of daily columns on one page, but still easy to draw over by hand.
Can I use this printable if I don’t keep a bullet journal?
Yes. The dot-grid layout works as a standalone page, a planner insert, or a page taped to a wall or fridge — you don’t need an existing bullet journal to use it.
How many habits should I track at once?
Most people have the best results tracking somewhere between two and six habits at a time. Tracking too many habits at once makes the page harder to fill in consistently and dilutes your focus.
Do I need special pens for dot-grid paper?
No. Any pen, pencil, or marker works. Fine-tip pens are easiest for drawing small boxes between dots, but a regular pen or pencil is perfectly fine for filling in a habit tracker.
Skip the Spreadsheet — Track It in ZenDuel
Habit streaks, mood tracking, and accountability duels in one free app — no template maintenance required. Get ZenDuel.
Want a calmer inbox? Subscribe to the free newsletter.
Photo by Prophsee Journals on Unsplash.